How to Activate an eSIM — and How Long It Really Takes
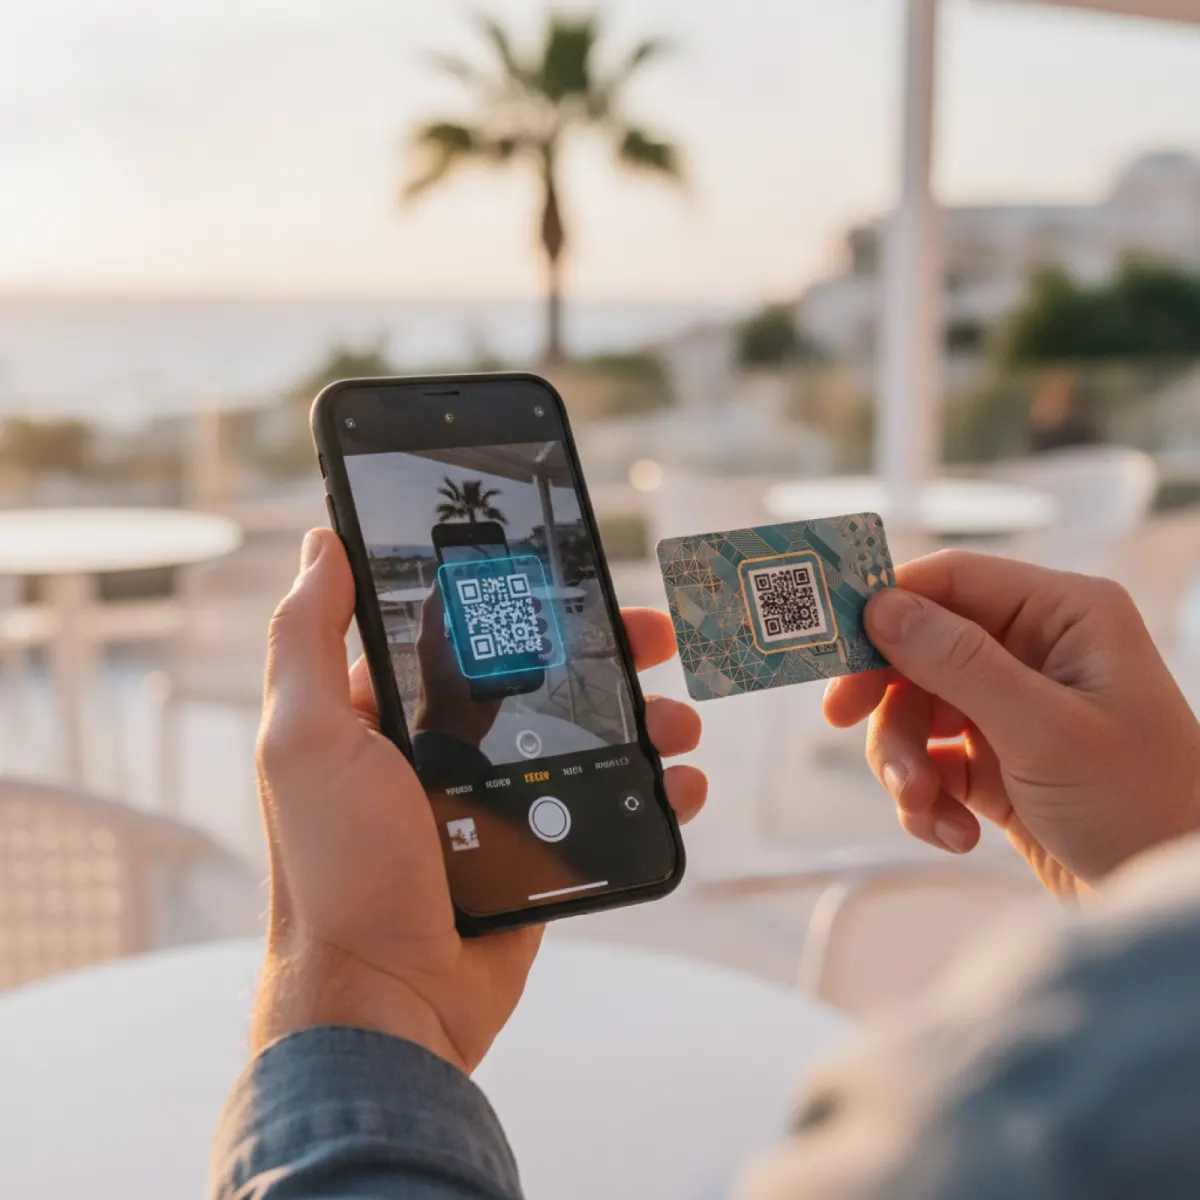
How to activate an eSIM on iPhone and Android, how long activation takes (minutes, not hours), and the data-roaming setting most first-timers miss.
An eSIM activates in minutes — the horror stories almost always come from doing the steps in the wrong order or at the wrong time. Here's the sequence that works.
The golden rule: install at home, activate on arrival
Install the eSIM profile on Wi-Fi before you travel. Most travel eSIMs only start their validity clock when they first connect to a network at the destination — so installing early costs nothing and removes every airport variable.
iPhone activation (2 minutes)
- Open the QR code email on another screen (or use the copy-paste manual codes).
- Settings → Cellular → Add eSIM → Use QR Code, scan, wait for "Cellular Setup Complete".
- Label the new line "Travel". Set Cellular Data → Travel eSIM, keep Default Voice → your home line.
- On the travel line, turn Data Roaming ON (travel eSIMs technically roam onto partner networks — this switch is the #1 support ticket).
- On your home line, turn Data Roaming OFF — this is your bill-shock insurance.
Android activation (2–3 minutes)
- Settings → Connections/Network → SIM manager → Add eSIM (wording varies by maker).
- Scan the QR code; confirm the download.
- Set the new eSIM as the mobile data SIM; leave calls/SMS on your home SIM.
- Enable data roaming on the travel eSIM only.
How long does it actually take?
- Profile install: under a minute on decent Wi-Fi.
- First connection at destination: usually seconds after landing; up to ~10 minutes for the first network registration in rare cases.
- If nothing after 15 minutes: toggle airplane mode, then manually select a partner network in Settings → it re-registers.
The three settings that cause 90% of "my eSIM doesn't work"
- Data roaming off on the travel line (must be ON).
- Wrong data line selected — phone still pushing data through the home SIM.
- Locked phone — carrier-locked devices silently refuse foreign profiles. Check lock status before the trip.
Ready to try it? Plans for Japan, Europe, Mexico and every other destination deliver the QR code instantly after checkout.